


Data View consumers
Introduction
From VocBench 10.0.0 it is possible to customize the Resource View aspect by changing the templates and defining custom sections.
Accessing the Project settings page, and selecting the Resource View tab, the following editor is shown.
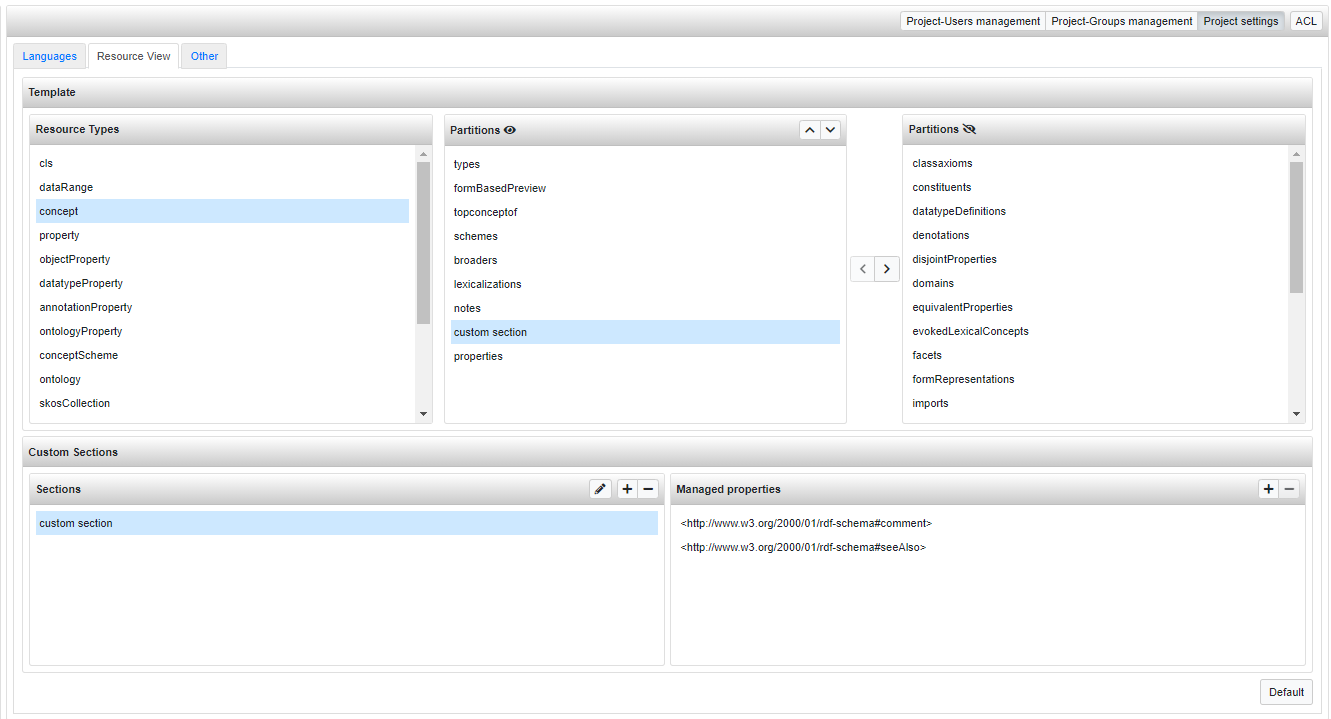
It is mainly composed by two panels, the top one is dedicated to the management of the ResourceView templates while the bottom one allows the definition of custom consumers.
Template editor
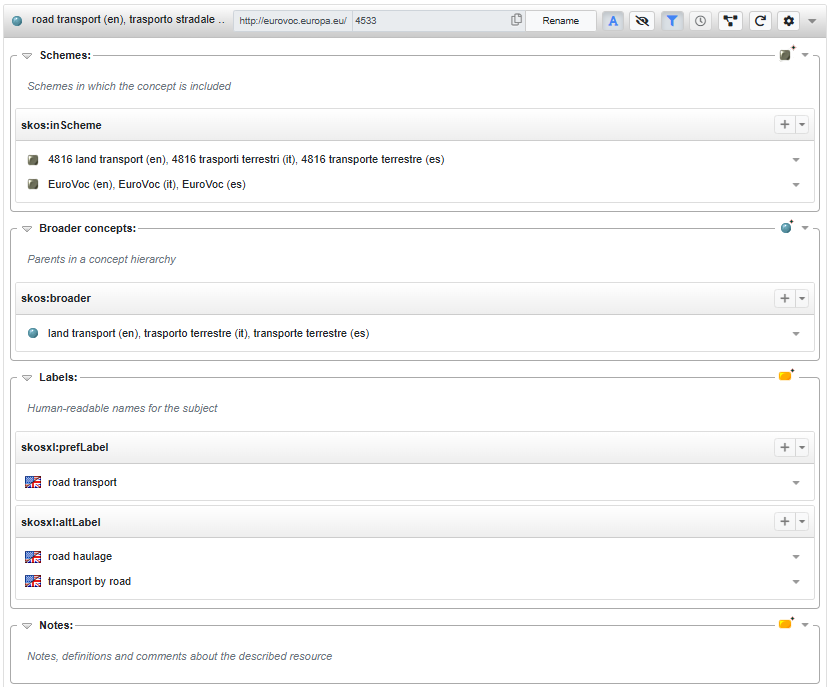
The structure of the ResourceView is guided by a template. Every type of resource defined in VocBench is mapped with a pre-defined template, for example, the default template for concepts has the following sections (or partitions): Types, Top Concept of, Schemes, Broaders, Lexicalizations, Notes and Other properties.
From the Template panel it is possible to edit these mappings between resource types and partitions. After the selection of a resource type, the two Partitions lists show respectively: the sections assigned to the related template (in the left list) and the rest available (in the right one). A partition can be added to, or removed from, the visible ones through the two arrow buttons between the list (after selecting a partition). An active section can be also moved in a different position in the list by using the buttons on the panel header.
Note: this editor can be used by the administrator (or the project manager) for the customization of the default templates in the project. There are also other possibilities, for both the administrator and the user, for customizing further the templates for the specific user.
Custom sections
The composition of a single template section is based on a statements consumer which, as the name suggests, "consumes" those statements of a resource that involves specific managed properties. For example, the Types section is bound to a consumer which manages rdf:type and its sub-properties.
So, defining a new section means, under the hood, defining a new consumer. In order to achieve that, we can use the Custom Sections panel which is splitted in two sub-panels: Sections and Managed properties.
The first one basically allows the creation of new custom sections, the renaming or the deletion of the created ones. In the second one user can define the list of managed properties, namely those properties that will be processed by the consumer and for which the related values will be collected under the section.
Note that a consumer processes also the sub-properties of its managed properties, moreover, the properties are processed only once by the first consumer that manages them, this means that if we define a custom section that consumes rdf:type property, it will have no effect if it is placed after Types section (that already consumes the same property), on the contrary, if placed before Types, our custom consumer will process rdf:type, the related section will show its values and Types will result in an empty section.
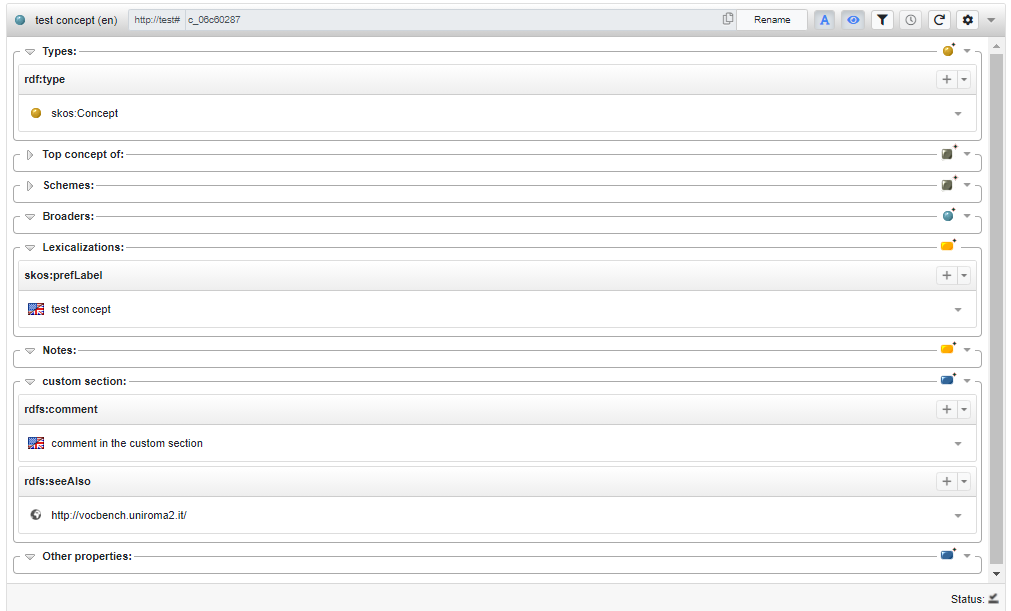
Once a custom section is defined, in order to make it visible into the ResourceView, it needs to be added to a template through the dedicated editor described before. In the following image it is an example of ResourceView of a concept using the template containing the custom section defined in the previous screenshot, namely a section (trivially named custom section) which manages rdfs:comment and rdfs:seeAlso properties and it's placed between the Notes and Other properties partitions.
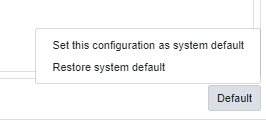
Finally, at the bottom right corner of the editor, it is possible, by means the Default button, to restore the system default configuration (templates and custom sections) or to set the current one as system default.
Customized section info
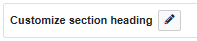
The Customize Section Heading option, accessible in the Resource View tab under Project Settings, allows administrators (and PMs) to configure the information displayed for each section within the Resource View.
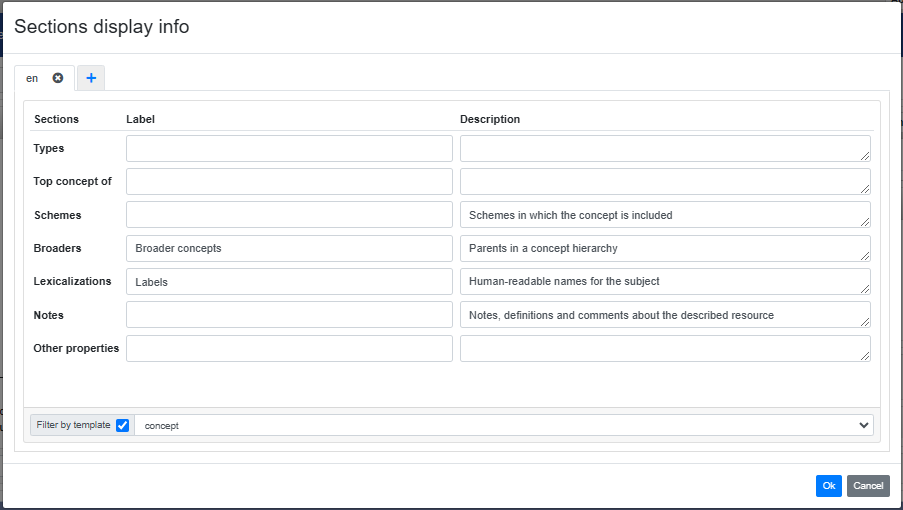
Upon clicking the adjacent button, a tabbed editor opens, where each tab corresponds to a different language. Within each tab, users can view and edit mappings that define titles and descriptions for the Resource View sections. Both titles and descriptions can be provided in multiple languages, automatically adapting to the user’s selected interface language.
Customized rendering of predicates
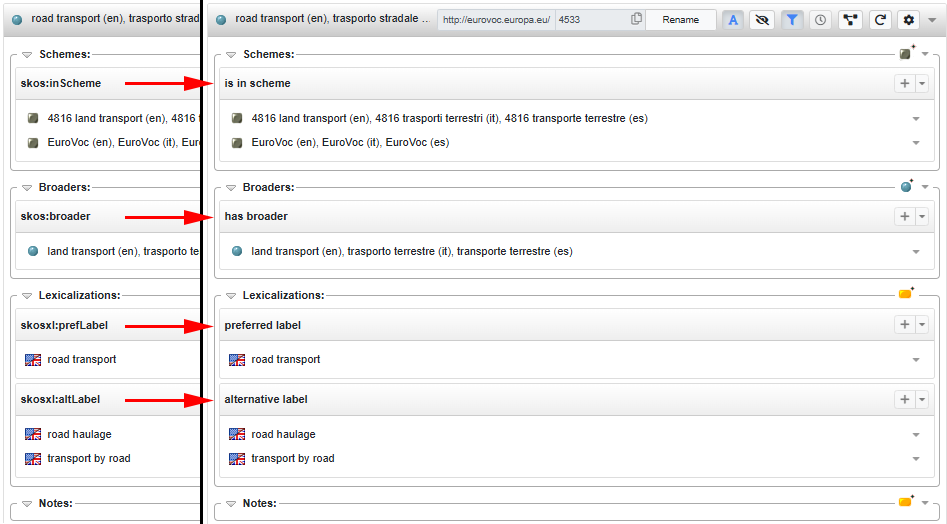
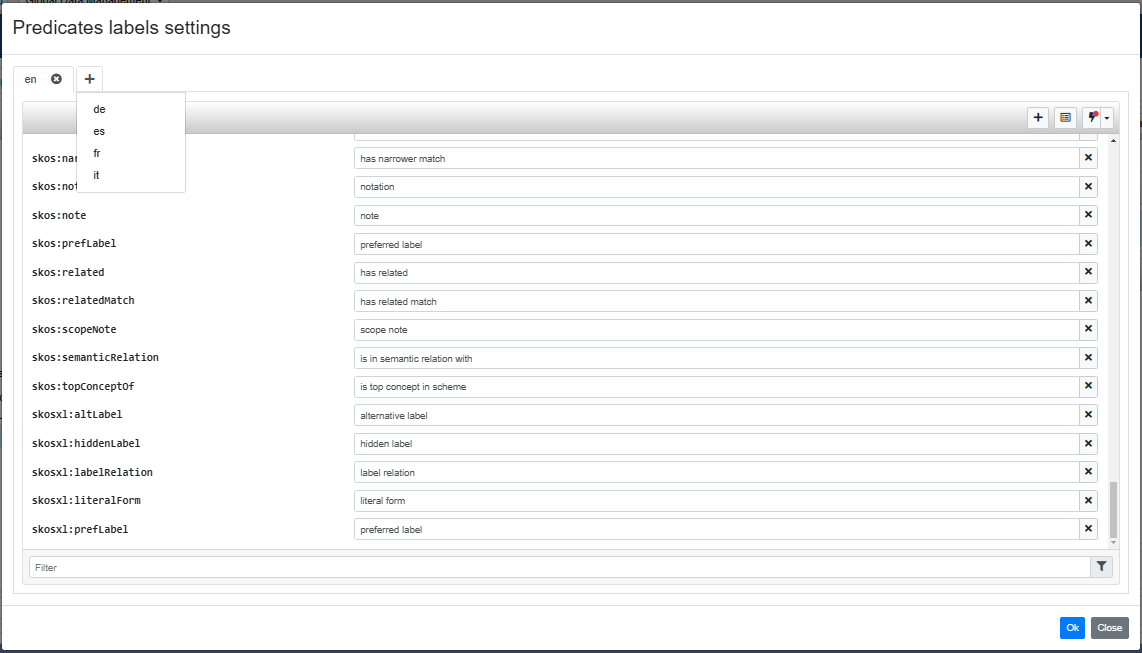
The Resource View includes a feature that allows you to customize how property labels are rendered, offering an alternative to the default labels. In the Project settings editor, under Resource View tab, you’ll find a Render Predicate Labels option. When enabled, this setting displays custom labels for properties instead of the default labels in the Resource View. To the right of this option, a button opens the editor for defining these custom labels.

The custom label editor is organized with a tabbed interface, allowing for labels in multiple languages. A new tab can be created by clicking the + tab, which prompts you to select a language from those available in the platform. Once a language is chosen, the editor will be initialized as an empty workspace.
To populate this workspace, you can click the button  , which allows you to select specific vocabularies from which to import predicates. This action brings in the predicates defined in those vocabularies, enabling you to begin customizing their labels.

Additionally, there is a lightning icon button that can be used to bootstrap the custom labels. This feature initializes the default labels (either rdfs:label or skos:prefLabel) for the available predicates directly from the vocabulary, providing a quick starting point for customization.
With these tools, the custom label editor allows flexible control over how properties are labeled in the Resource View, enabling a more tailored and multilingual user experience.